Generic wall art often feels lifeless and impersonal, failing to reflect your unique style or personality. Creating your own custom posters transforms blank walls into meaningful expressions of creativity while staying budget friendly. This comprehensive tutorial walks you through every step, from gathering affordable materials to printing professional quality large format posters and displaying them beautifully. Whether you prefer thrifted frame collages, handmade wood frames, or modern faux poster hangers, you'll discover practical techniques to craft stunning wall art that truly feels like home.
Table of Contents
- Gathering Your Materials And Tools
- Step By Step DIY Poster Creation And Framing Methods
- Printing And Technical Considerations For Large Poster Quality
- Troubleshooting And Tips For Displaying Your Custom Posters
- Bring Your Poster Ideas To Life With Posterify
- Frequently Asked Questions
Key takeaways
| Point | Details |
|---|---|
| Affordable materials | DIY posters use thrifted frames, poster board, and simple supplies to create custom art without breaking the bank. |
| Multiple framing options | Choose from collage frames, wood strip builds, or faux hangers to match your decor style and skill level. |
| Print quality matters | Proper resolution, color profiles, and bleed margins ensure sharp, professional looking large format posters. |
| Easy display methods | Magnetic and adhesive hanging systems offer flexibility for rearranging your personalized poster collection. |
Gathering your materials and tools
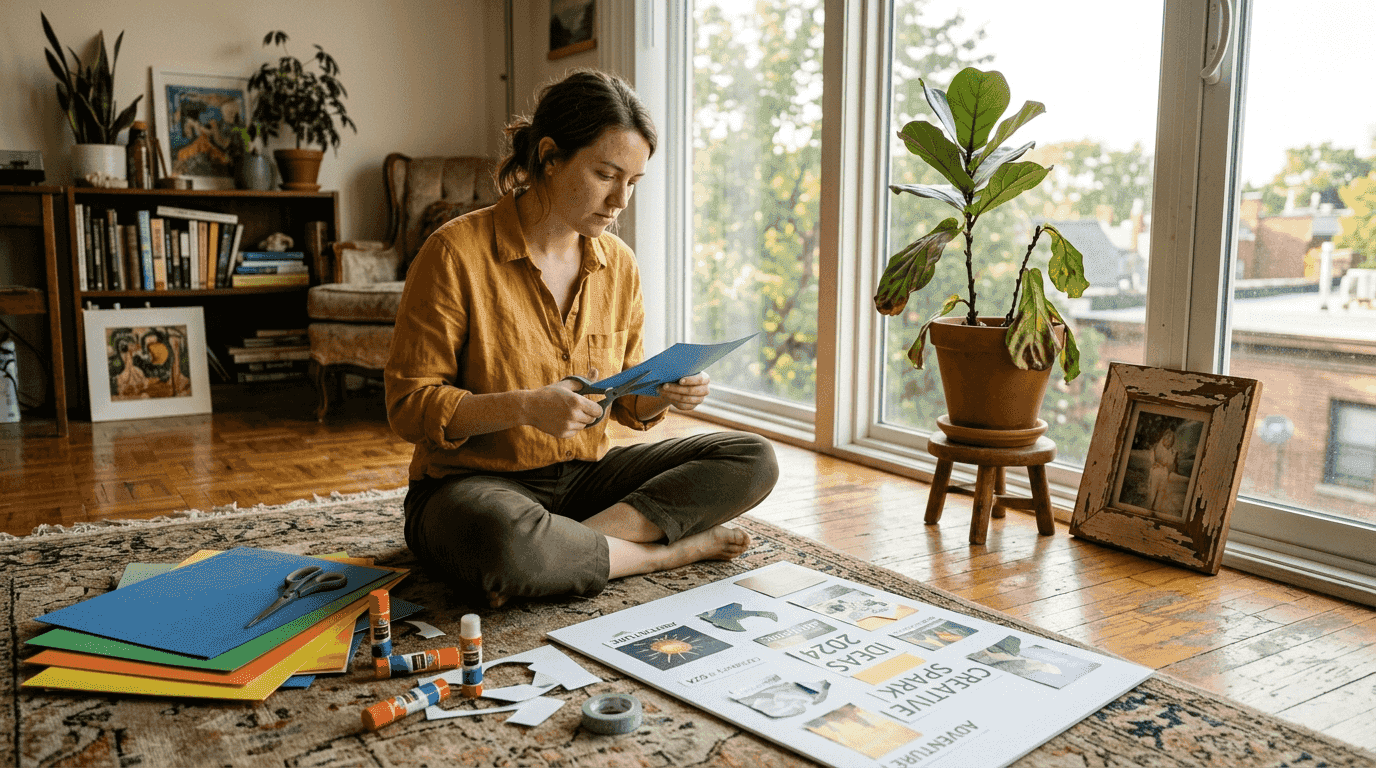
Before diving into your poster project, assembling the right materials ensures smooth crafting and professional results. The supplies you need vary based on your chosen framing style and budget. DIY large wall art posters can be created cheaply with thrift store frames, poster board, printed cutouts, and glue, making this an accessible project for any skill level. Start by visiting local thrift stores to find frames in various sizes, which you can repurpose or paint to match your aesthetic.
For basic collage style posters, gather poster board in your preferred colors, a quality printer or print shop access, scissors or a craft knife, and strong adhesive like mod podge or craft glue. If you're building custom wood frames, you'll need wood strips or lattice, a miter saw or box, wood glue, corner clamps, and optional acrylic sheets for a polished finish. Faux poster hangers require balsa sticks or thin lattice strips, paint in your chosen color, strong adhesive or hot glue, and Command strips for damage free hanging.
Pro Tip: Select matte finish poster board rather than glossy to minimize glare and create a gallery quality appearance that photographs beautifully.
Here's a comparison of three popular DIY framing approaches to help you choose the best method for your space and budget:
| Method | Estimated Cost | Time Required | Materials Needed | | --- | --- | --- | | Thrift frame collage | $15 to $30 | 2 to 3 hours | Thrifted frames, poster board, printed images, glue, paint | | DIY wood frame | $25 to $50 | 3 to 4 hours | Wood strips, miter saw, wood glue, clamps, backing board, optional acrylic | | Faux poster hanger | $10 to $20 | 1 to 2 hours | Lattice strips, paint, Command strips, twine or magnets |
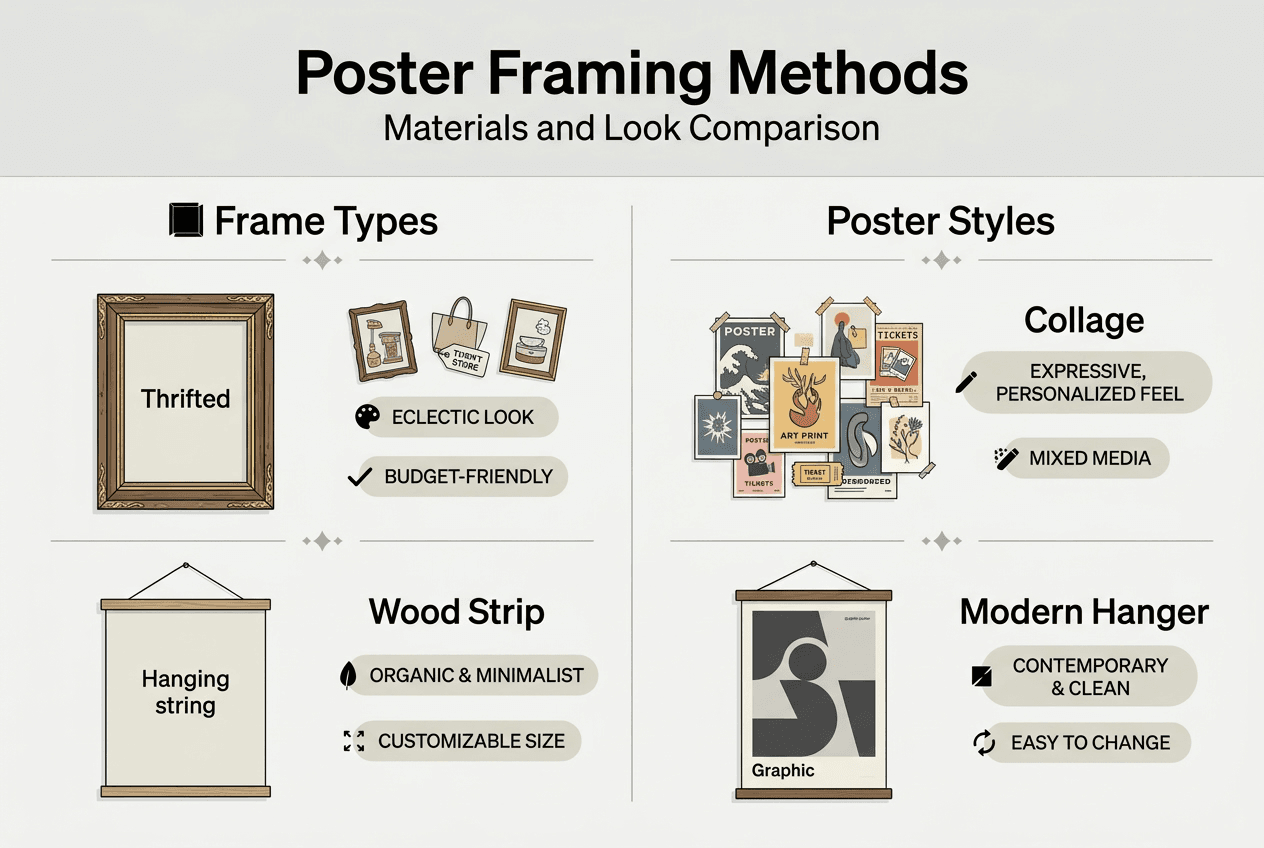
Each method offers distinct advantages. Thrift frame collages provide vintage charm and unique character, while custom wood frames deliver a clean, modern aesthetic. Faux poster hangers create an oversized statement piece without the bulk of traditional frames. Consider your wall space, existing decor style, and comfort level with tools when selecting your approach. You can also explore Posterify AI posters for custom designs that complement any framing method you choose.
Step by step DIY poster creation and framing methods
With your materials assembled, you're ready to transform basic supplies into stunning personalized wall art. Each framing method follows a logical sequence that builds your skills progressively. Start with the technique that matches your confidence level and available tools.
For collaged posters using thrift frames, follow these steps:
- Source frames from thrift stores, garage sales, or discount retailers, selecting complementary sizes and styles.
- Remove glass and backing, then clean frames thoroughly and paint if desired to unify the collection.
- Print your chosen images or designs on quality paper, sizing them to fit within each frame opening.
- Arrange printed cutouts on poster board backing, experimenting with layouts before committing to placement.
- Apply adhesive evenly to the back of each cutout, pressing firmly to eliminate air bubbles.
- Reassemble frames with your custom poster board inserts, securing backing hardware tightly.
- Arrange frames on the wall in your planned configuration, using a level to ensure straight alignment.
For DIY wood strip frames, creating poster frames from wood strips and backing board with glue is simple and customizable. Measure your poster dimensions precisely, adding 1/4 inch to length and width for a comfortable fit. Cut four wood strips at 45 degree angles using a miter saw, ensuring opposite sides match exactly. Apply wood glue to miter joints, then secure corners with clamps while drying for at least 30 minutes. Sand any rough edges smooth, then paint or stain the frame to match your decor. Insert backing board cut to size, place your printed poster face up, and optionally add a cut acrylic sheet for protection. Secure everything with small nails or frame points along the back edge.
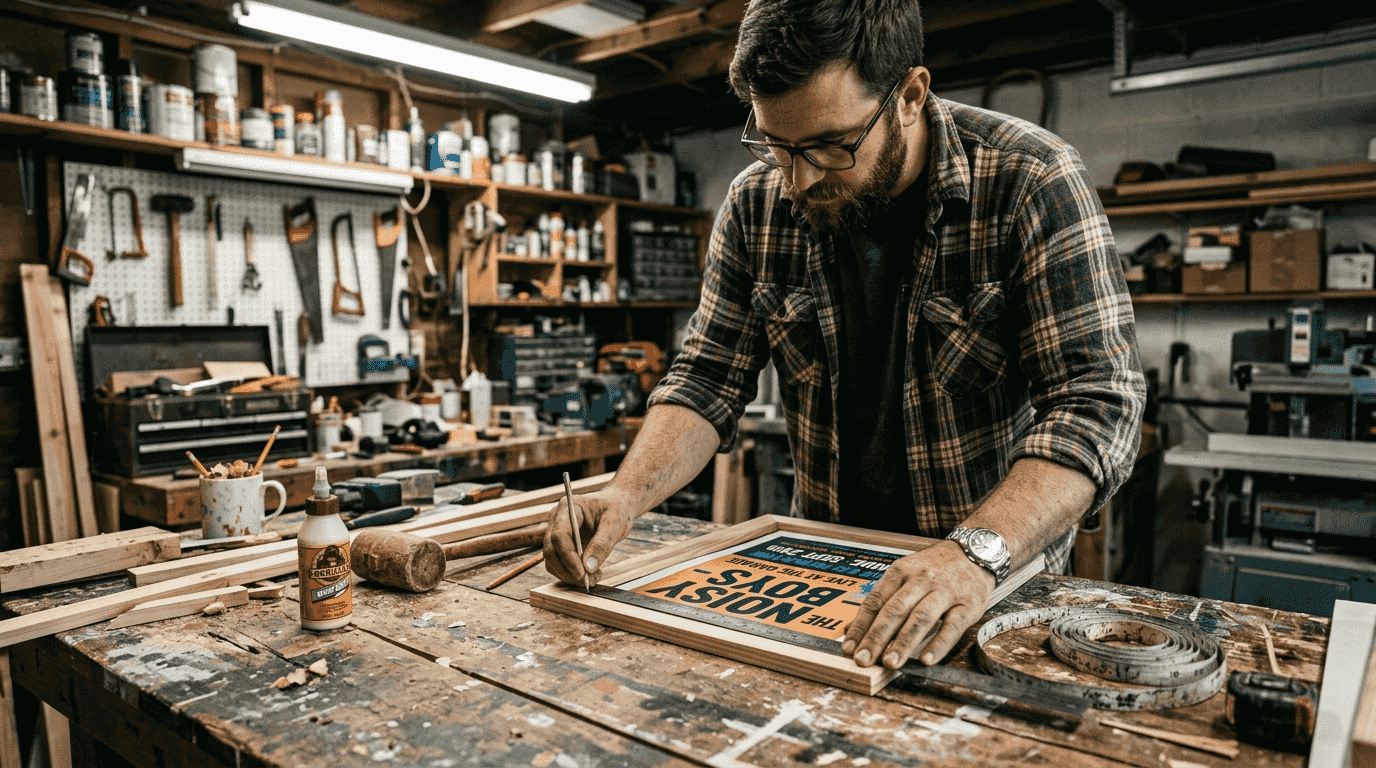
Pro Tip: Measure twice and cut once when working with wood strips, as even small measurement errors compound at the corners and create gaps or misalignment.
Faux oversized poster hangers offer a contemporary, minimalist look perfect for modern spaces. Cut two lattice strips or balsa sticks to match your poster width exactly. Paint both strips in your chosen color, applying two coats for even coverage and durability. Once dry, attach strong magnets or create a channel using two thin strips glued parallel to grip the poster top and bottom edges. Apply Command strips to the back of the top hanger piece, following package directions for your poster weight. Hang the top piece first, ensuring it's level, then slide your poster into the grip and attach the bottom hanger to weight the poster flat. This method allows easy poster swaps and creates the illusion of floating wall art. Explore Posterify AI posters for designs optimized for this modern hanging style.
Printing and technical considerations for large poster quality
Creating beautiful frames means nothing if your poster prints look pixelated or washed out. Understanding print specifications separates amateur projects from professional looking wall art. Large posters require minimum 150 DPI at print size, CMYK color mode, and 3mm bleed for high quality results. These technical requirements ensure your images remain sharp when viewed from typical room distances.
Image resolution determines how crisp your poster appears at its final size. Calculate required pixel dimensions by multiplying your poster width and height in inches by your target DPI. For a 24 by 36 inch poster at 150 DPI, you need 3600 by 5400 pixels minimum. Higher resolution files up to 300 DPI produce even sharper results but create larger file sizes. Consider viewing distance when setting resolution, as posters viewed from across a room can use lower DPI than those examined up close.
Color profiles significantly impact how your printed poster matches your screen preview. Design files in CMYK color mode rather than RGB, as printers use cyan, magenta, yellow, and black inks. RGB colors often appear more vibrant on screens but translate poorly to print, causing disappointing results. Bleed margins extend your design 3mm beyond the final trim size, preventing white borders if cutting isn't perfectly precise. Include important text and design elements at least 6mm inside the trim line to avoid accidental cropping.
Print substrate selection affects both appearance and durability. Matte poster paper provides a classic, glare free finish ideal for framed art and photographs. Glossy paper enhances color vibrancy and works well for bold graphics and illustrations. Vinyl substrates offer water resistance and durability for high traffic areas or outdoor covered spaces. Canvas creates a textured, artistic appearance but costs more and requires stretching or mounting.
Always check your file's actual DPI at print size before sending to production, as upscaling low resolution images creates blurry, unprofessional results no amount of sharpening can fix.
Here's a comparison of common print technologies for home decor posters:
| Technology | Advantages | Disadvantages |
|---|---|---|
| Inkjet | Excellent color accuracy, affordable for small runs, widely available | Slower production, potential for water damage, higher per unit cost |
| UV printing | Durable, scratch resistant, works on various substrates, fade resistant | Higher setup costs, limited color gamut on some materials |
| Latex | Eco friendly, odorless, fast drying, good outdoor durability | More expensive equipment, slightly less color vibrancy than inkjet |
Avoid these common printing mistakes that compromise poster quality:
- Upscaling low resolution images beyond their native size, creating visible pixelation and blur
- Ignoring bleed requirements, resulting in unwanted white borders or cropped design elements
- Using RGB color mode instead of CMYK, causing unexpected color shifts in the final print
- Choosing glossy paper for framed art behind glass, which creates distracting double reflections
- Skipping test prints for large projects, missing color or sizing issues before expensive production
Many professional print services offer file checking before production, catching technical issues that would ruin your poster. Take advantage of these services or use Posterify print quality tips to ensure your files meet professional standards before ordering.
Troubleshooting and tips for displaying your custom posters
Even well crafted posters face display challenges that affect their appearance and longevity. Understanding common problems and their solutions helps you maintain beautiful wall art for years. Proper hanging techniques protect both your walls and your creative work.
Choose hanging methods based on your rearrangement needs and wall type. Adhesive poster hangers limit rearrangement flexibility; magnetic hangers offer easier swaps. Adhesive strips like Command hooks provide strong, damage free mounting for permanent or semi permanent displays. Apply them to clean, dry walls, pressing firmly for 30 seconds to activate the adhesive. Magnetic poster hangers grip top and bottom edges, allowing you to swap posters in seconds without removing hardware. This flexibility suits spaces where you rotate art seasonally or display temporary collections.
Pro Tip: When using Command strips, wait 24 hours after applying before hanging your poster to allow adhesive to fully bond, preventing unexpected drops that could damage your art.
Frame warping occurs when moisture or temperature fluctuations affect wood or poster board. Store unused posters flat in a cool, dry location, never rolled tightly for extended periods. If frames warp slightly, place heavy books on the affected area overnight to flatten. Prevent warping by avoiding direct sunlight and maintaining consistent indoor humidity between 40 and 60 percent. Use backing boards cut precisely to frame dimensions, as oversized backing creates pressure that warps frames over time.
Glare from glass or glossy finishes makes viewing difficult in bright rooms. Position framed posters perpendicular to windows rather than directly opposite to minimize reflection. Museum glass or acrylic with anti reflective coating eliminates glare but costs significantly more than standard glazing. For budget friendly solutions, choose matte paper finishes and frame without glass, which works well for posters in low traffic areas.
Color fading happens when UV light breaks down pigments over time. Protect valuable posters with UV filtering glass or acrylic, which blocks up to 99 percent of harmful rays. Rotate displayed posters periodically, giving each piece time away from light exposure. Consider LED lighting rather than incandescent bulbs, as LEDs emit minimal UV radiation and generate less heat that can damage paper.
Secure heavy frames properly to prevent accidents. Use two hanging points for posters wider than 24 inches, distributing weight evenly across the wall. Locate wall studs with a finder tool for the strongest mounting, or use appropriate drywall anchors rated for your frame weight. Hang posters at eye level, typically 57 to 60 inches from floor to center, adjusting for your ceiling height and furniture placement. Group smaller posters with consistent spacing, usually 2 to 3 inches between frames, to create cohesive gallery walls. Explore Posterify hanging solutions for additional display inspiration and professional printing services.
Bring your poster ideas to life with Posterify
You've learned the fundamentals of creating custom posters from scratch, but sometimes you want professional quality without the DIY time investment. Posterify combines the personalization you love with expert printing on museum grade paper. Our AI powered design tools help you create unique posters perfectly sized for any framing method you've mastered.
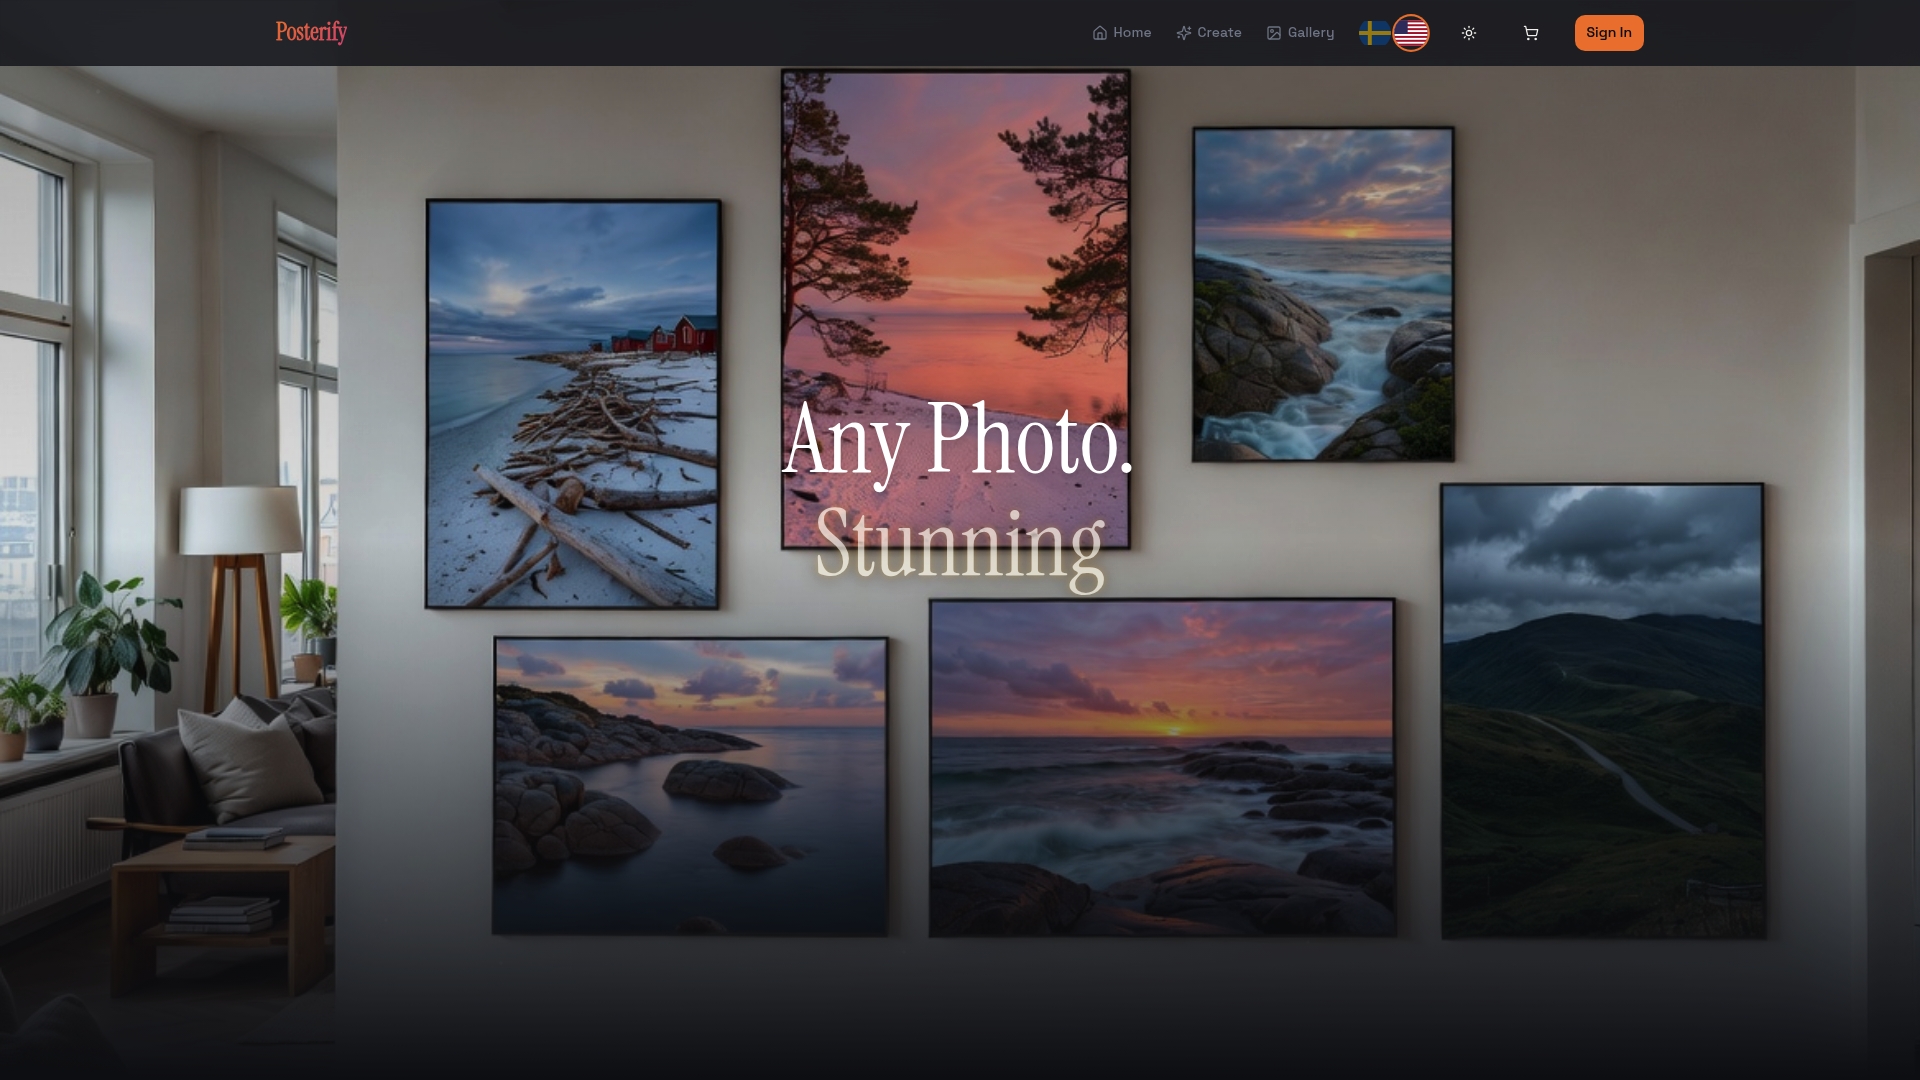
Whether you're designing minimalist line art for faux hangers or detailed photography for wood frames, Posterify custom poster printing delivers files with optimal resolution and color profiles automatically. Upload your own images or describe your vision to our AI, which generates custom designs in seconds. Every poster ships within 2 to 5 business days, arriving ready to frame using the techniques you've learned. Our flat rate domestic shipping and premium materials ensure your creative vision translates perfectly from screen to wall, complementing the DIY skills you've developed throughout this tutorial.
Frequently asked questions
How do I start creating my own home decor posters?
Begin by selecting a framing style that matches your skill level and available tools, whether thrifted frames, wood strips, or faux hangers. Gather affordable materials from local stores, then plan your design and color scheme before printing. Starting with smaller posters builds confidence before tackling larger statement pieces.
What resolution and print specs should I use for large posters?
Use at least 150 DPI at your final print dimensions, calculated by multiplying poster size in inches by DPI to get required pixels. Always work in CMYK color mode rather than RGB, and include 3mm bleed margins beyond your trim size. Higher resolution up to 300 DPI produces sharper results for posters viewed up close.
Can I easily rearrange posters hung with adhesive strips?
Adhesive strips hold securely but require careful removal and new strips for repositioning, limiting flexibility for frequent changes. Magnetic or clip style hangers allow instant poster swaps without removing wall hardware, making them ideal for rotating seasonal displays. Consider your rearrangement needs when selecting mounting methods.
How do I prevent my DIY frames from warping over time?
Store posters flat in cool, dry locations and maintain indoor humidity between 40 and 60 percent to prevent warping. Cut backing boards precisely to frame dimensions, as oversized backing creates pressure that distorts frames. Avoid hanging posters in direct sunlight or near heat sources that cause expansion and contraction.
What's the best way to eliminate glare on framed posters?
Position frames perpendicular to windows rather than directly opposite to minimize reflection from natural light. Choose matte finish paper and frame without glass for a budget friendly glare free solution in low traffic areas. For valuable pieces, invest in museum glass or anti reflective acrylic that eliminates up to 99 percent of glare while protecting against UV damage.